Whenever I see an STO I can’t help but think it’s a hot wheels car brought to life
While the Huracan STO is a wicked looking car, it has to be said that visibility from the driver’s seat is not its strong suit. Lamborghini did add a reversing camera, but since it shows up on the instrument cluster it can be difficult to see past the steering wheel. It also does nothing to help with front parking vision, since the deep dash, long nose and low front make parking one of these a nervous experience.
Integration obviously being the name of the game, we spent months testing and researching a way to add a camera image into any of the existing Lamborghini screens, but came up empty due to the unique system that Lamborghini use in these cars. That meant we needed to find a way to add a screen in a way that wouldn’t be obtrusive to the client and doesn’t permanently modify the car. Enter the mirror replacement


Again, since Lamborghini have to do things differently, there’s no off-the-shelf mirror mount screen for these cars. A clip-on screen would have been absolutely unacceptable to us, so we found a mirror bracket that was similar to the original and modified it to fit behind the Lamborghini mirror mount cover, as well as use the original windshield mount
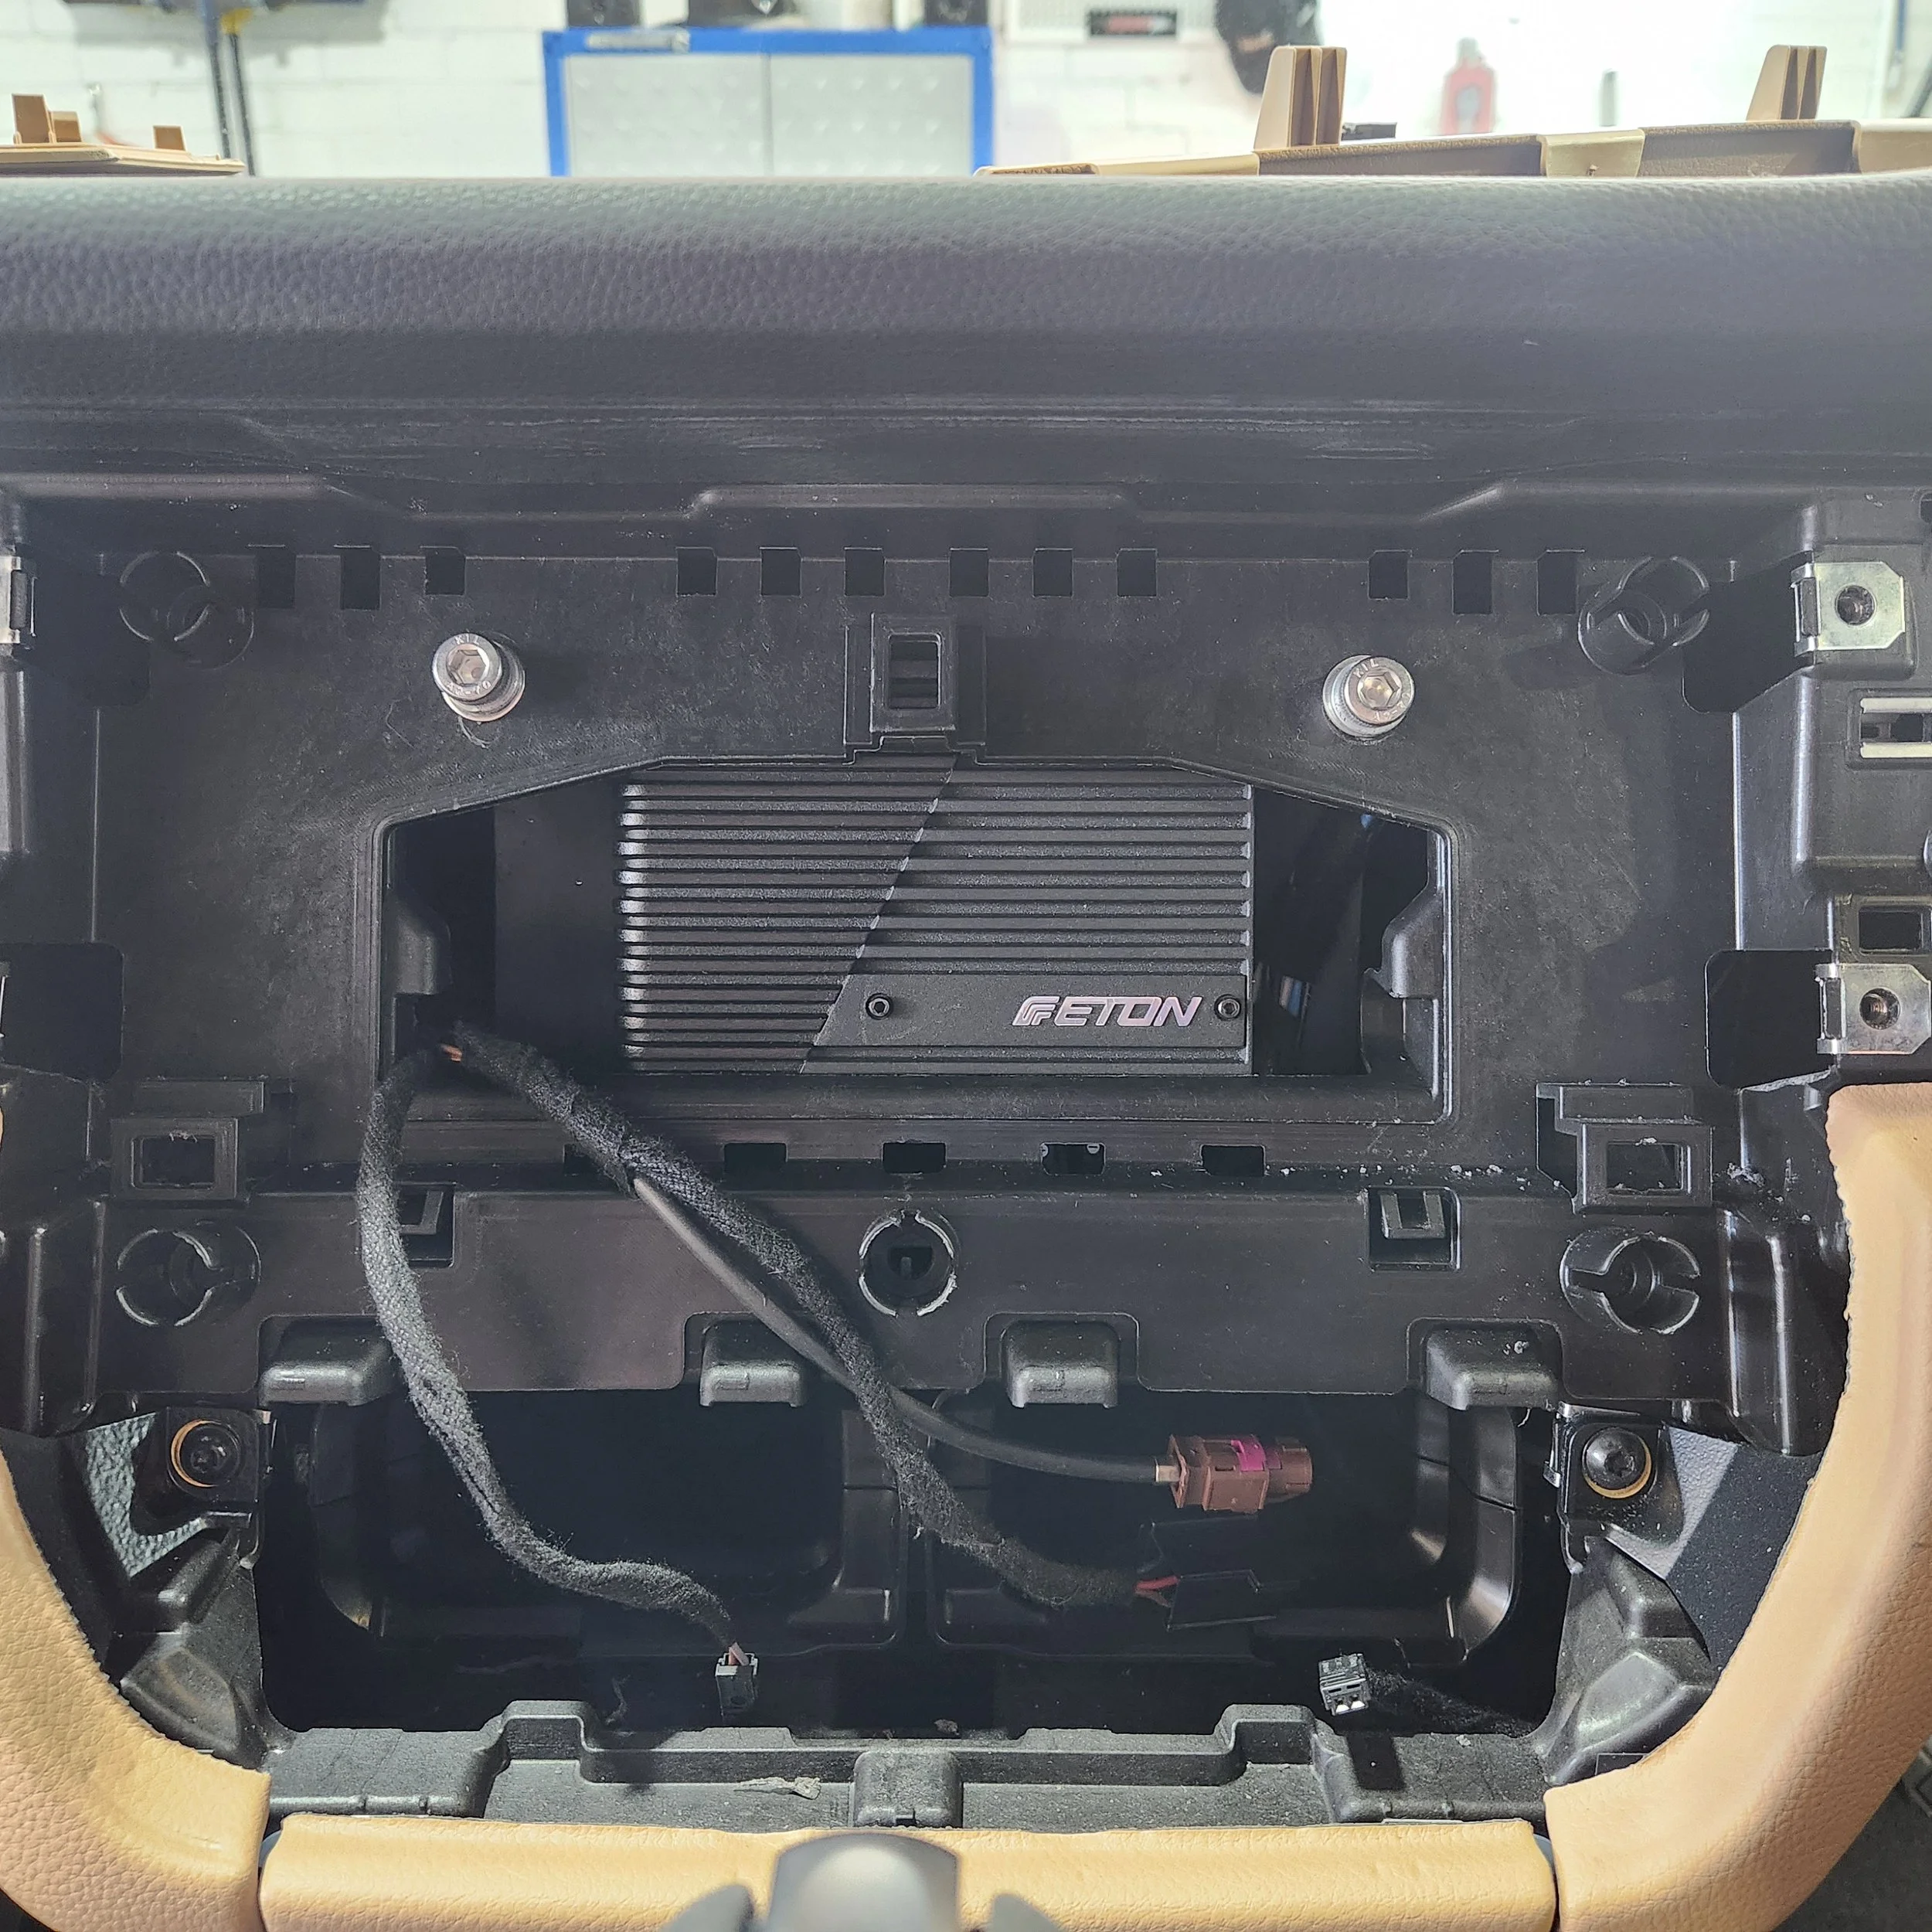
Then the camera challenge. This is where our months of research paid off, since we had tracked down the factory rear camera signal and were able to re-route it into our new mirror screen at the client’s request, to keep things consistent between camera setups.
The front camera mount was thankfully fairly straightforward, even if the cabling wasn’t. Being able to use the numberplate bracket to attach a small camera to the front meant no drilling into carbon fibre panels, and allows us to fully remove the camera if necessary.

The front camera is neatly tucked under the front numberplate - no visible wires either!
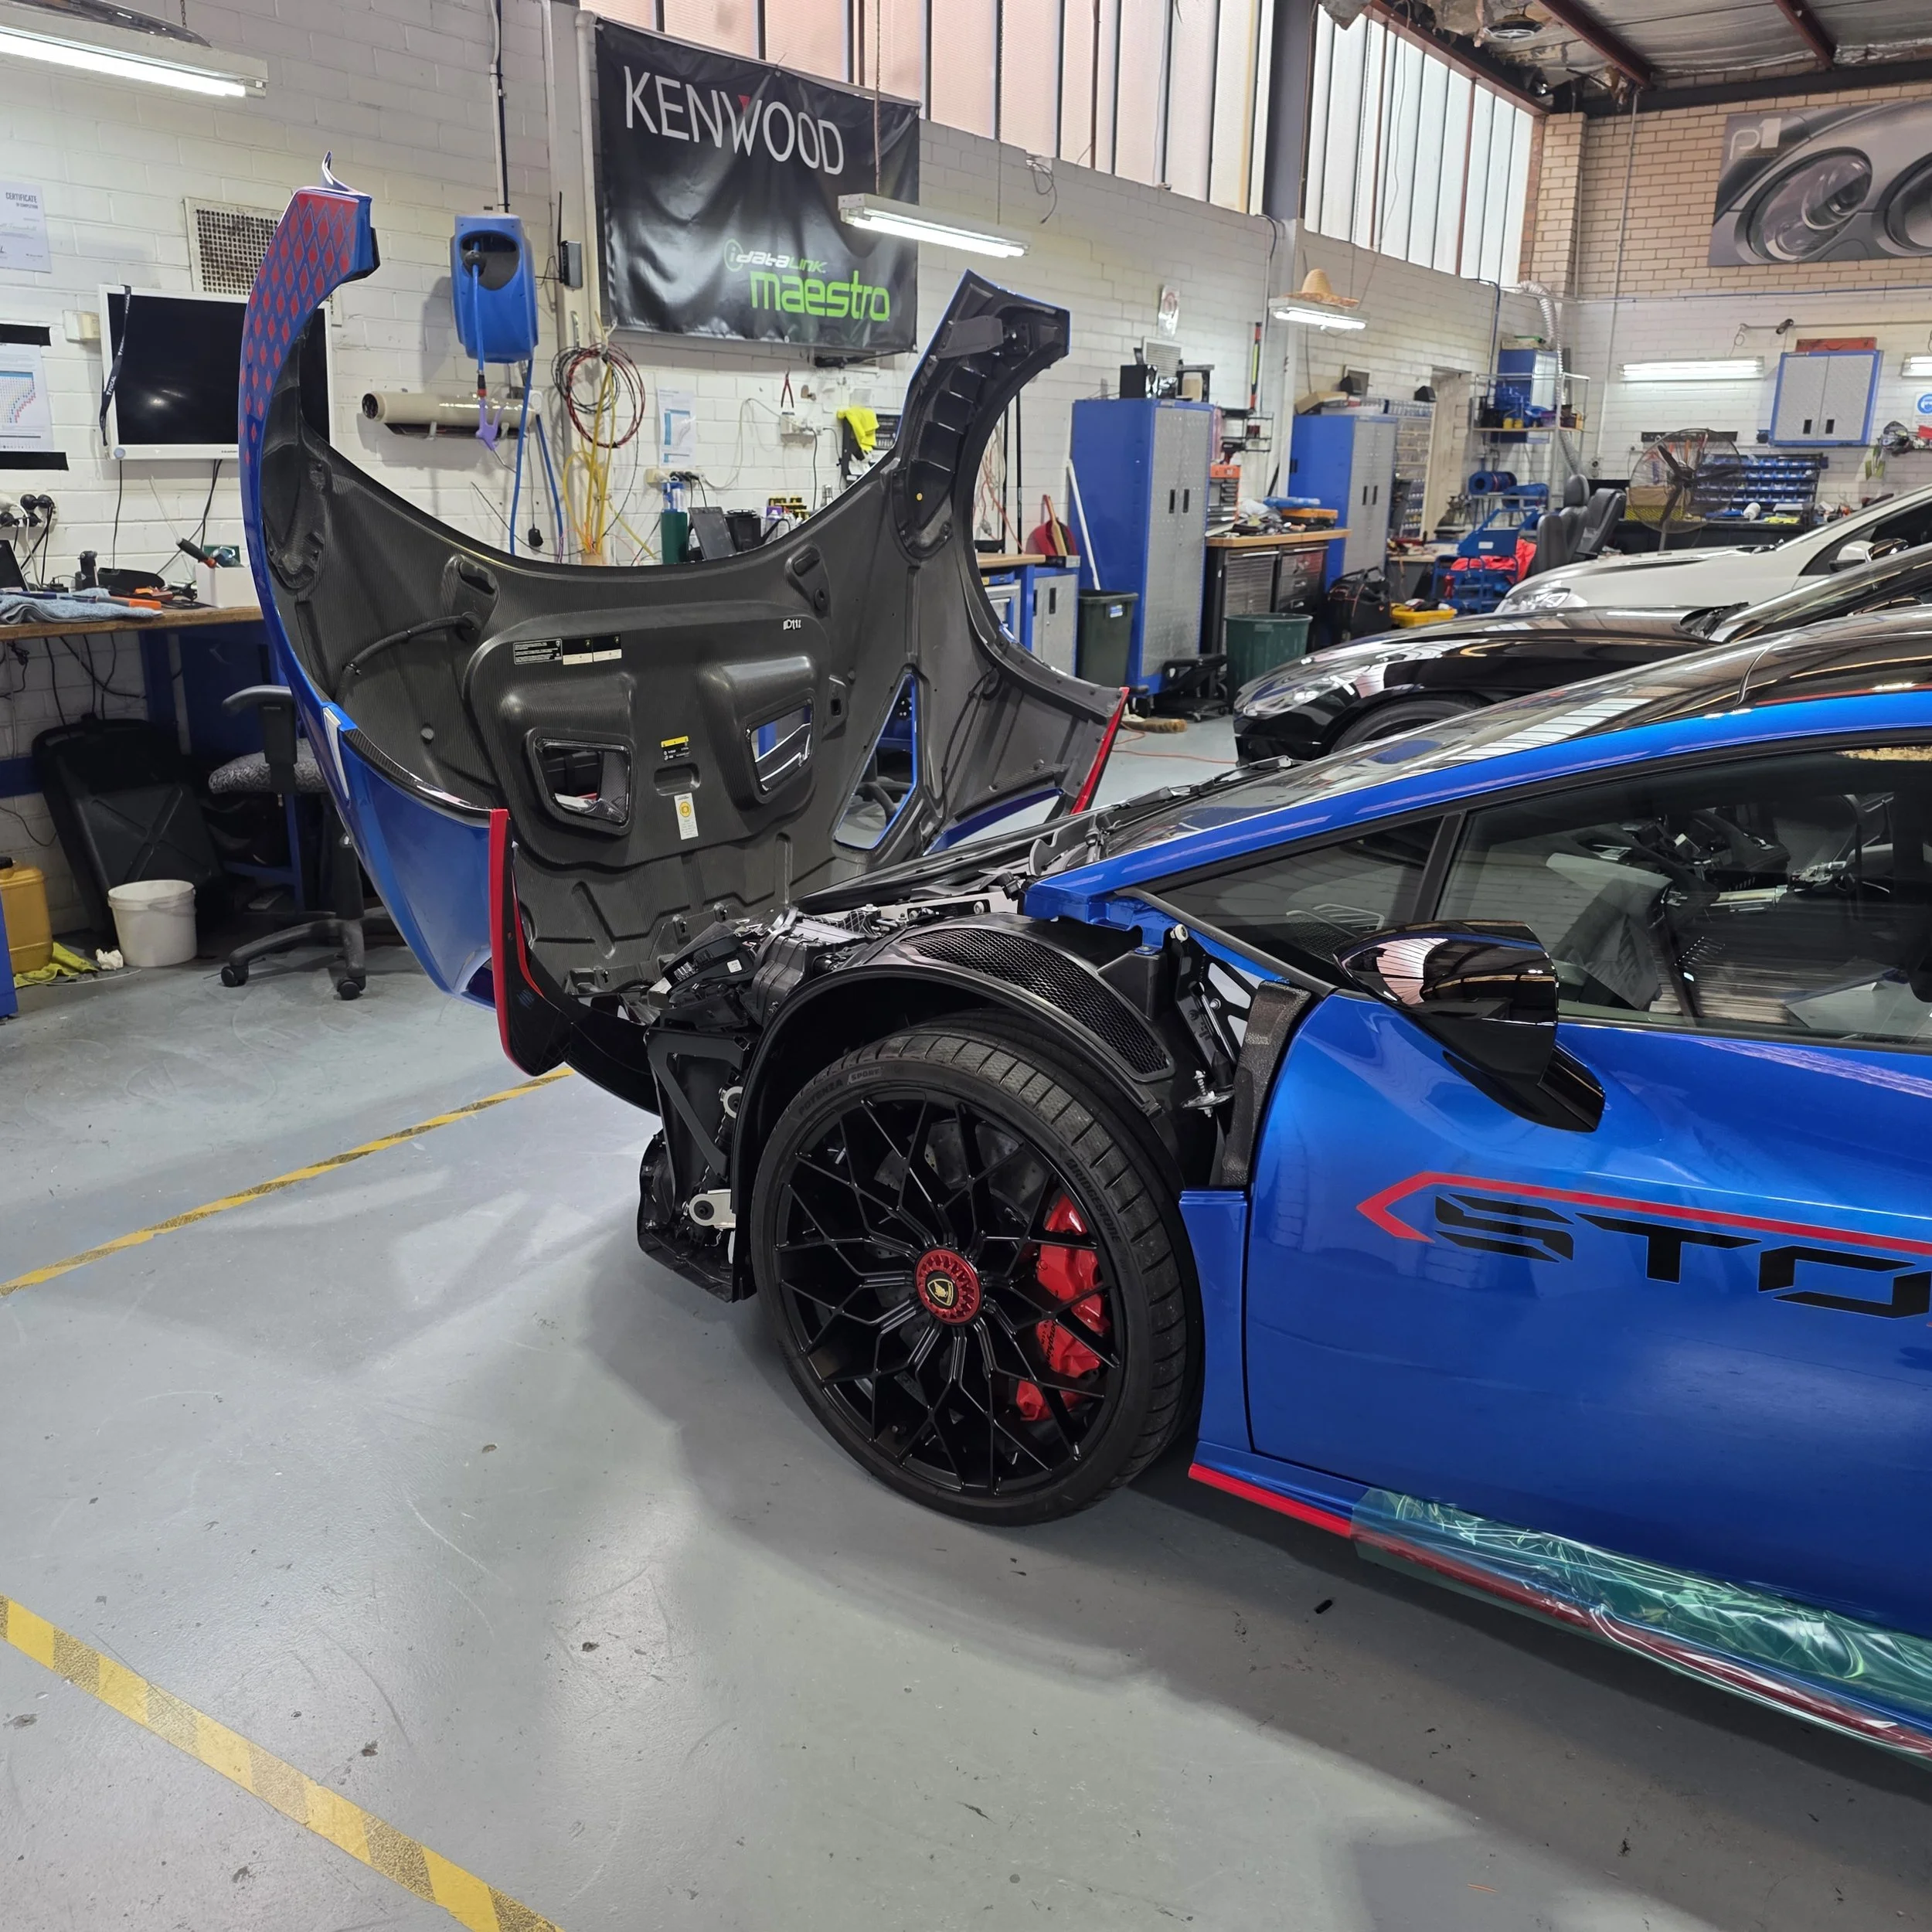
Not the easiest front half to run cables through
After we’d solved these problems, there was one hurdle left to tackle. How do you turn the front camera on? In most OEM systems the front camera turns on after leaving reverse, and turns off automatically once the car is parked or drives off. We don’t have that luxury unfortunately, due to not being able to read either the gear position or the vehicle speed. That meant we needed a manual switch to activate the camera, which Lamborghini very kindly provided in the center dash switch panel - a blank factory switch.

The switch to the right of the hazard lights controls our front camera
We don’t know what feature is missing from the STO to give us this blank but we’re grateful for it. A little bit of internal modification to the switch panel and some switching circuitry to get it to control our mirror, and we have the perfect OEM-like camera control. Press once for front camera, press again to go back to rear.
We’re very proud of the results here and we feel its a testament to our perseverance that we were able to crack this. These are not easy cars to work on or develop for, and to have a solution that not only looks and works great but is also repeatable is a huge win. These images were taken from three separate STO installations that we’ve done to make sure that this is a reliable upgrade for a car of this calibre.
For more information or a quote give us a call on 03 90787101 or use the contact us tab.